
Unless you’’ ve simply emerged from a nuclear fallout bunker, you’’ ve most likely currently become aware of Lightroom’’ s outstanding brand-new masking tools that Adobe revealed at their yearly Adobe Max conference. PetaPixel’’ s Ryan Mense composed a terrific hands-on post covering the stretch of these brand-new masking tools.
My objective for this workflow video is to approach these tools from an useful point of view, without getting stuck in a few of the more technical elements of these effective innovations. It’’ s not that they are worth or not crucial understanding. I enjoy nerding out about the crossway of AI and picture modifying. I likewise comprehend that there are numerous professional photographers who are just interested in seeing how these brand-new tools work in a method that would be most relevant within their own post-processing workflows.
.The Power of AI-Driven Masking.
At a high level, the 2 crucial updates to Lightroom’’ s selective modifying are:
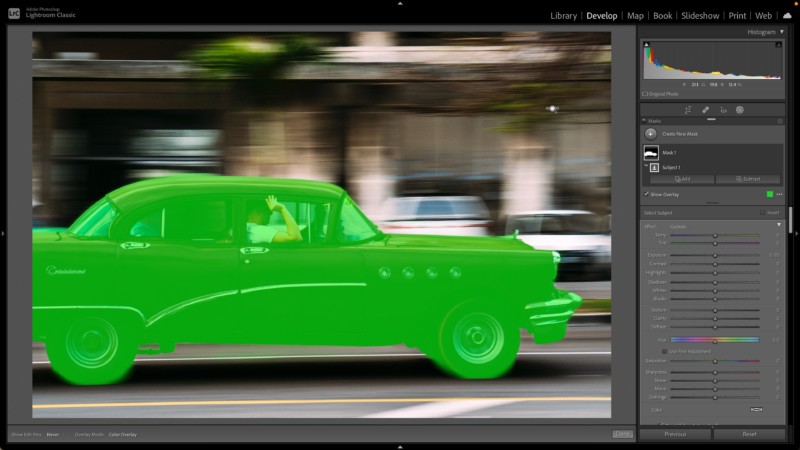
. Making use of AI to wisely choose the sky and topic( s) in your structure and.The manner in which you can have numerous choices, or masks, connect with each other by utilizing the Add, Subtract, Invert, and Intersect tools.
In my viewpoint, these 2 updates are a few of the most substantial to come to Lightroom given that localized edits were presented back in 2008 with Lightroom v2. At the danger of gushing, I can not overemphasize just how much versatility this brand-new regional modifying workflow uses professional photographers. Fine-edged choices that utilized to take a number of minutes to fine-tune now happen within 1-2 seconds (a minimum of on my M1 Macbook Air). And with the quasi-logic of the Add and Subtract tools, I can even more target the particular locations of my image that I wish to selectively modify.
.Unrecognized heroes.
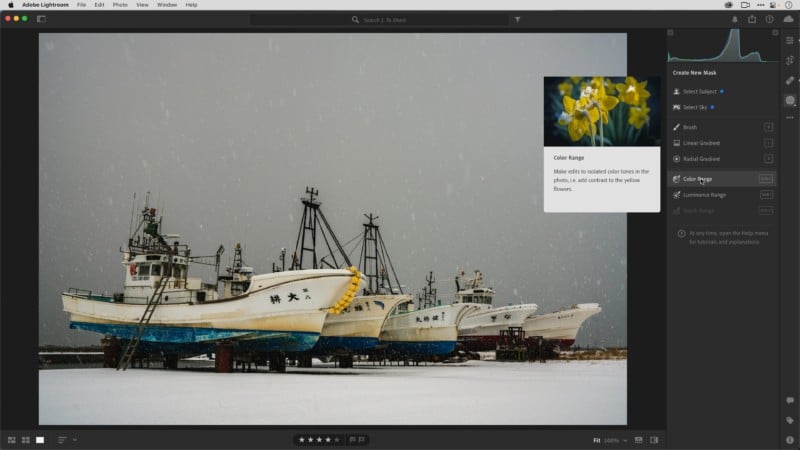
It’’ s essential to likewise raise a couple of other noteworthy updates to Lightroom that might have been lost in all the excitement. Significantly, the ““ New Coke ” variation of Lightroom lastly got the effective Color, Luminance, and Depth Range masking tools that Lightroom Classic users have actually delighted in for a couple of years now. As a Lightroom CC user, I can not start to reveal how pleased I am to have access to these tools.
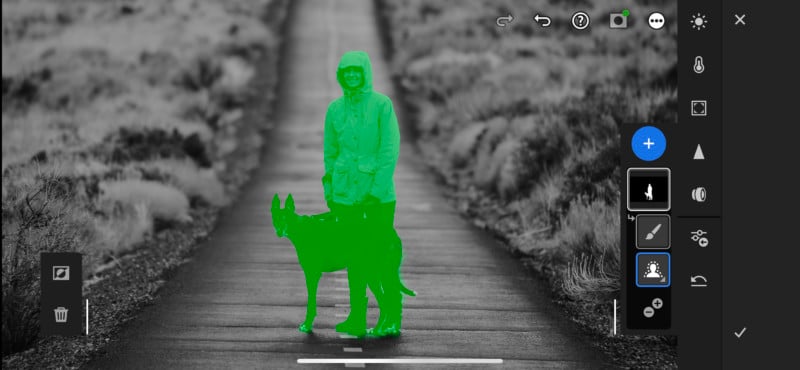
And as if mobile picture modifying hadn’’ t been outstanding enough with Lightroom iOS/Android, almost all of these brand-new masking tools have actually made their method to this on-the-go platform. Which, when you take a minute to think of, is really fantastic. Think of having the ability to make these fine-tuned edits on your phone.
.Onto the workflow video!
Ok, enough gushing. I guaranteed you a workflow video and here it is. Once again, my objective for this video was to reveal you some imaginative methods to utilize these brand-new masking tools to rapidly accomplish accurate edits. In some of the pictures, 100% of my edits were made utilizing regional modifications with these brand-new masking tools.
I am likewise dealing with a couple of add-on videos that display how well these tools sync throughout gadgets (start on your phone and end up on your desktop), along with how to utilize the Invert and Intersect masking choices. I hope this video assists motivate you to try these fantastic brand-new tools.
About the author: Brian Matiash is an expert photographer, videographer, and released author based in Coeur d’’ Alene, Idaho. His enthusiasm is to serve other professional photographers by assisting them grow their own visual pursuits. Find out more about Brian by visiting his site , on Instagram , and on YouTube .
.
Read more: petapixel.com