

.Intro to GIMP video modifying.
In this short article, we are going to find out how to carry out video modifying in GIMP. In basic, GIMP is graphic modifying software application that works mainly with raster images, it can be matched with some totally free video modifying tools to produce video impacts and edits. One such modifying is the cinemagraph which can be made with the assistance of GIMP, and it is much like still images however which some moving parts to it as a 3D image. We can produce a video clip from this duplicating clip. We will intend to produce a consecutive smooth loop of frames that will offer us a sense of movement. There is a contrast in between the moving and still part of the image which we wish to depict utilizing this strategy.
.Actions of GIMP video modifying.
Here are the following actions discuss listed below
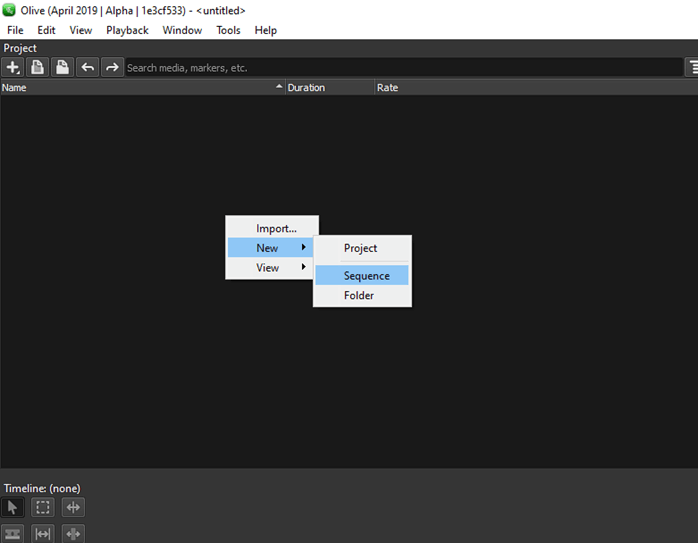
Step 1: First, we will download a complimentary software application called Olive which will assist us with some video modifying procedure which will be performed in combination with GIMP. You can go to https://www.olivevideoeditor.org/download.php and download Olive and install it on windows or any other os which you are utilizing. After opening the application, we will produce a brand-new series from the job panel.
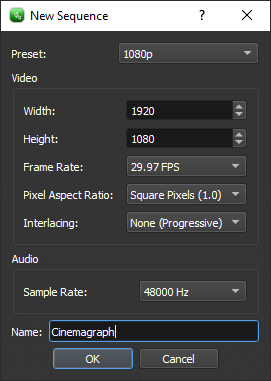
Step 2: While developing a brand-new series, we keep the predetermined to Change the name and 1080p of the series.
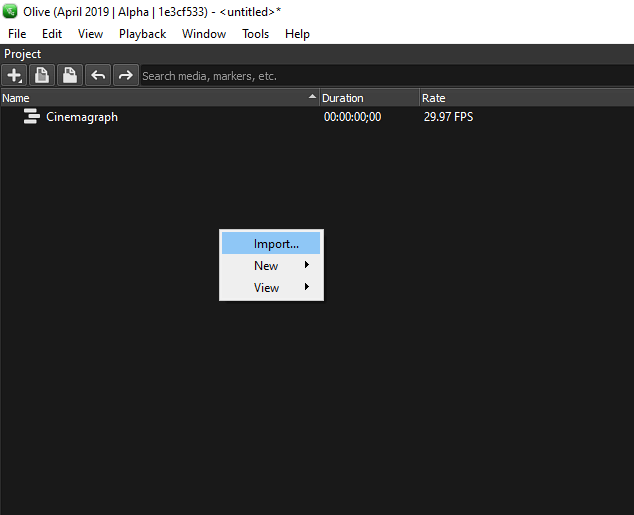
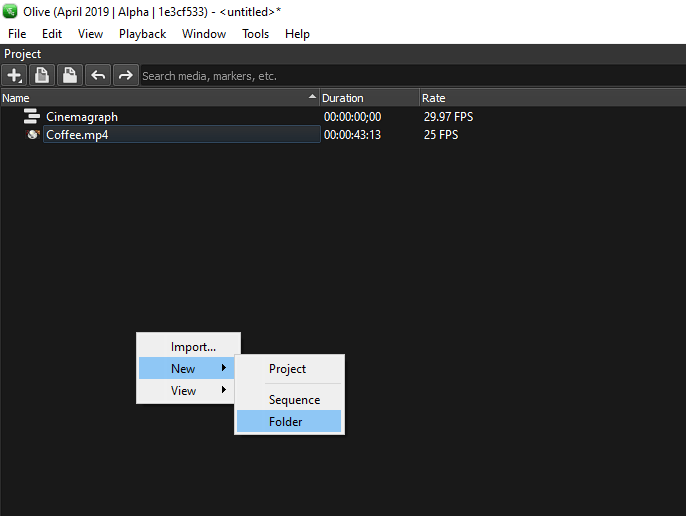
Step 3: To generate the video, we will right-click on the job panel and click import
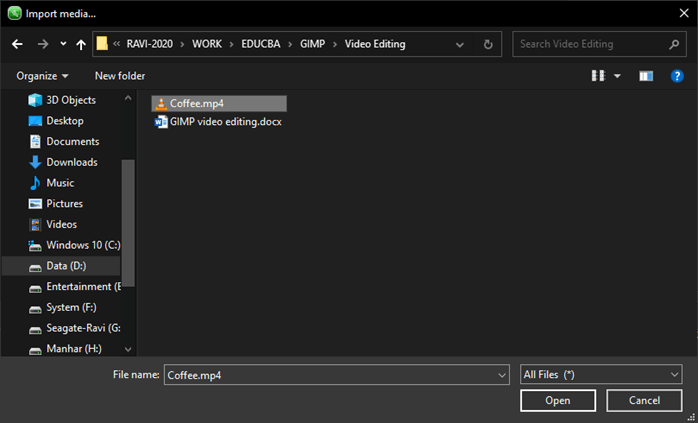
Step 4: Navigate to the video which you wish to modify and ensure it appropriates for developing a cinemagraph.
Step 5: To arrange the files, we produce a brand-new folder called video and move our clip inside it.
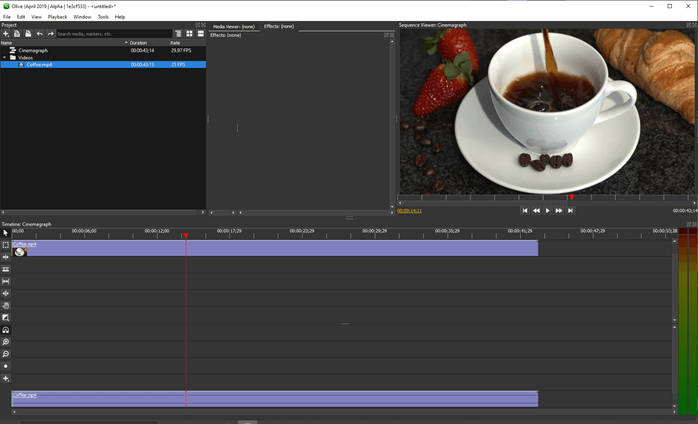
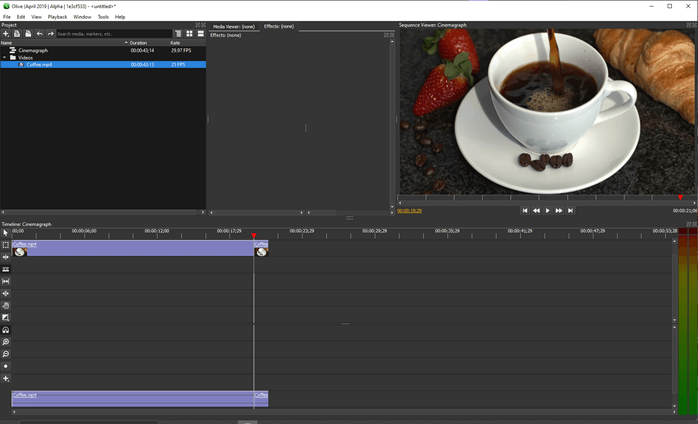
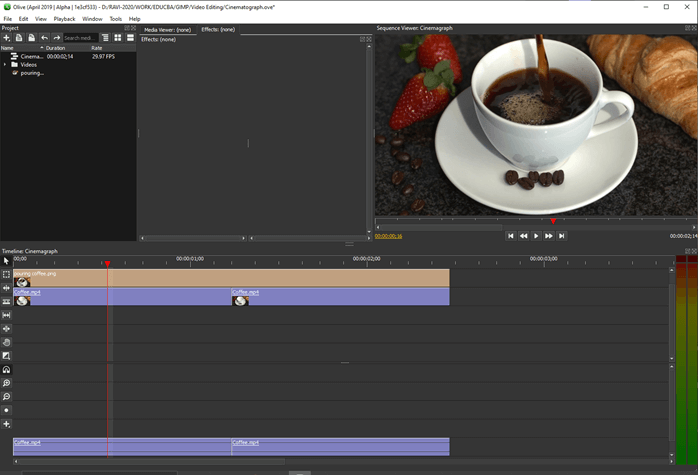
Step 6: Now, we will drag the video on the timeline, and you can see the period of the clip at the bottom of the series audience, which is around 14 seconds. The red color line is the play head which you can scrub to go to any part of the video in the timeline. The video will be played if you push the spacebar. What we are viewing in this video is the stream of coffee entering into the cup, and it needs to be fairly constant for cinemagraph.
Step 7: Now, when we see that the stream of the coffee is reasonably steady, we wish to cut just those parts of the clip for which we will utilize a razor tool or press C and press a cut on the timeline.
Step 8: Then, we will erase the part which we do not desire from the timeline.
Step 9: Again, we will see where we wish to begin the clip where the stream is constant and location another cut with the razor tool.
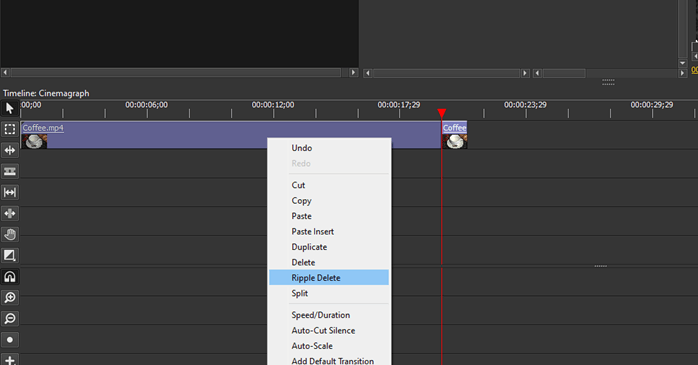
Step 10: Then, we will ripple erase the very first part, which will erase the clip along with area.
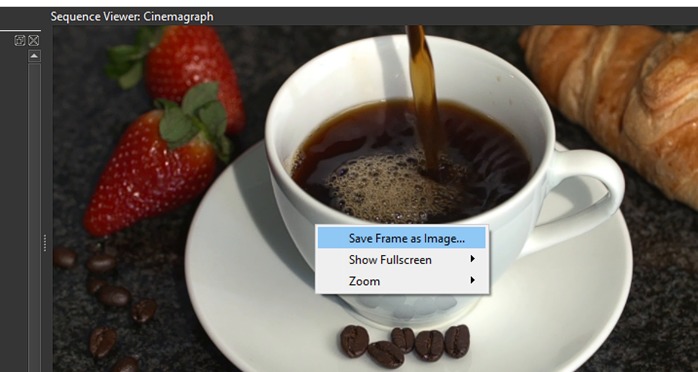
Step 11: When scrubbing the timeline, when you discover a fairly constant stream, then on the series audience ideal conserve the frame and click as an image.
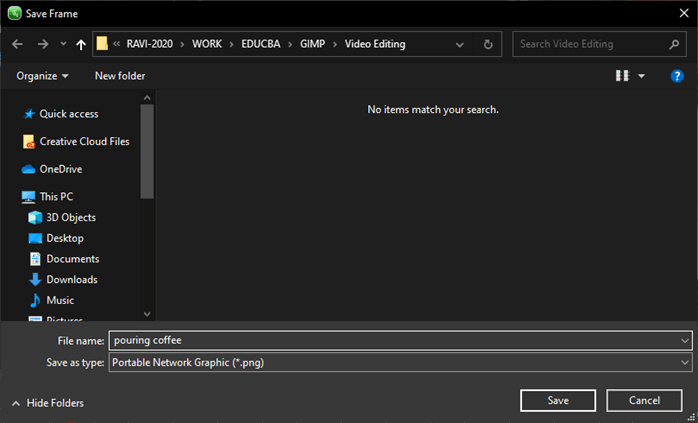
Step 12: This will conserve the file as a png file.
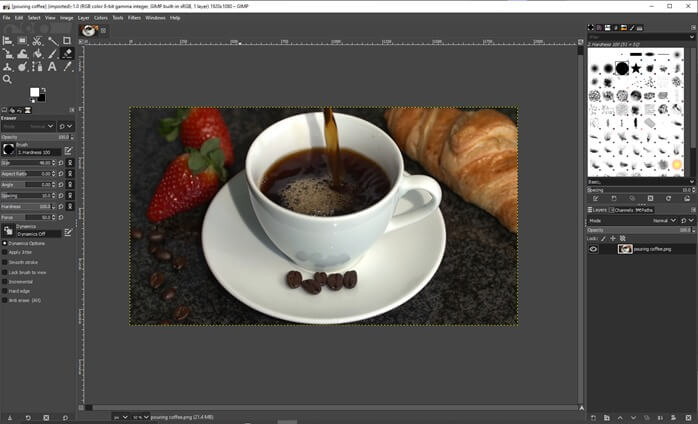
Step 13: Now open this image with GIMP by dragging it inside the GIMP window.
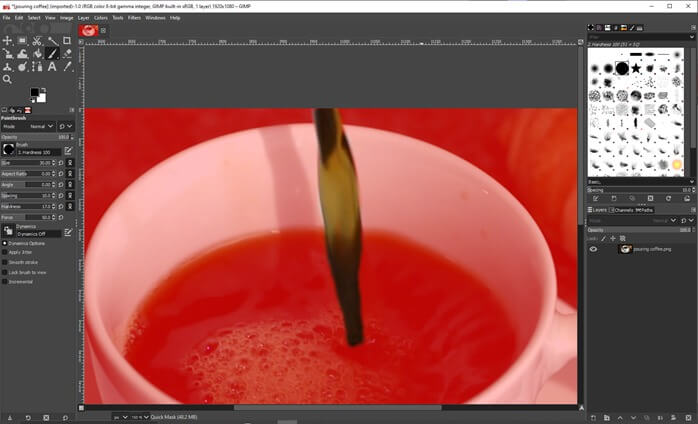
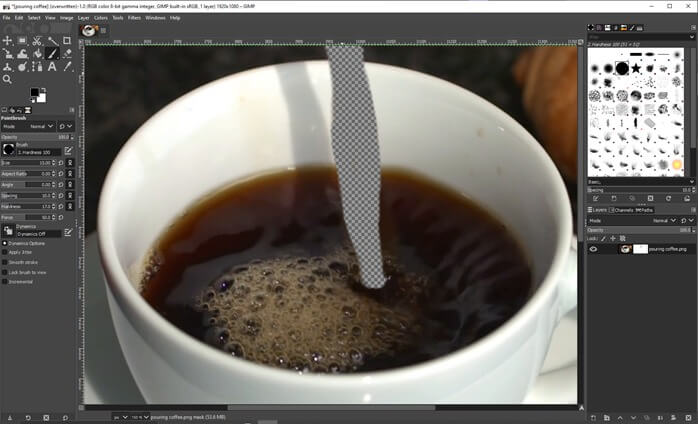
Step 14: Now toggle the mask on by pushing Shift + Q and after that utilize the paintbrush tool and set the correct size and firmness. Set the foreground color to white.

Step 15: Now, after you eliminate the part which includes the stream, it will look something like that, and you can likewise get the mask back by altering the foreground to black if you desire. The stream will be picked as soon as we turn the fast mask off.
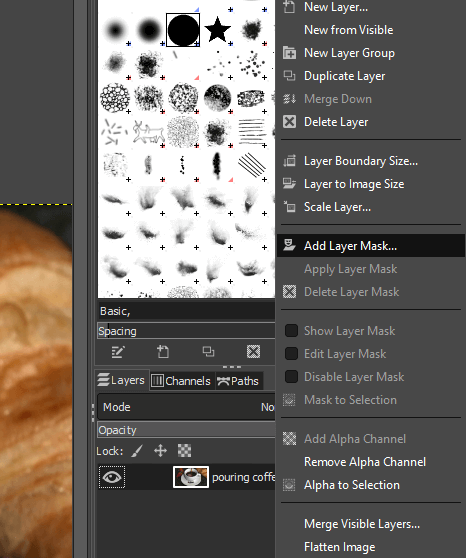
Step 16: Then include a layer mask in the layers panel.
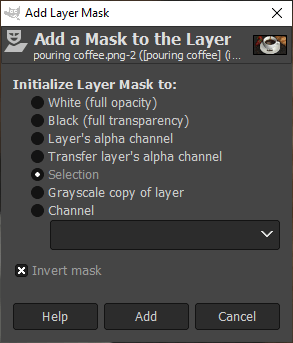
Step 17: Make sure choice is examined and invert mask is set.
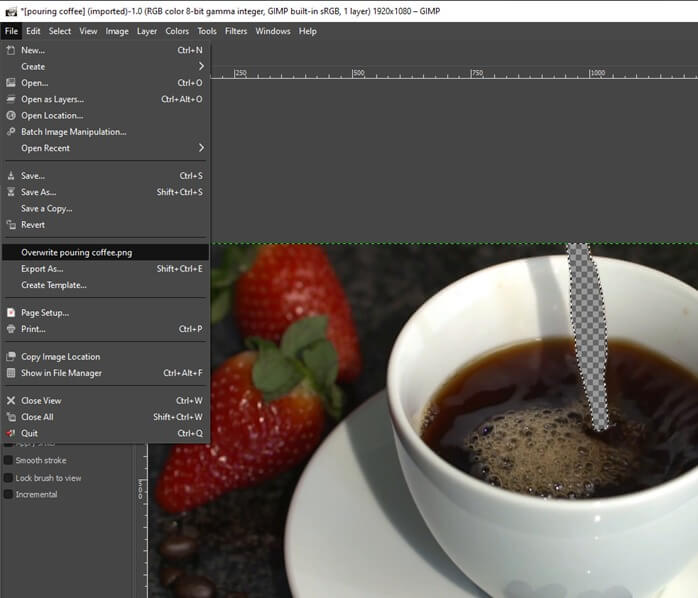
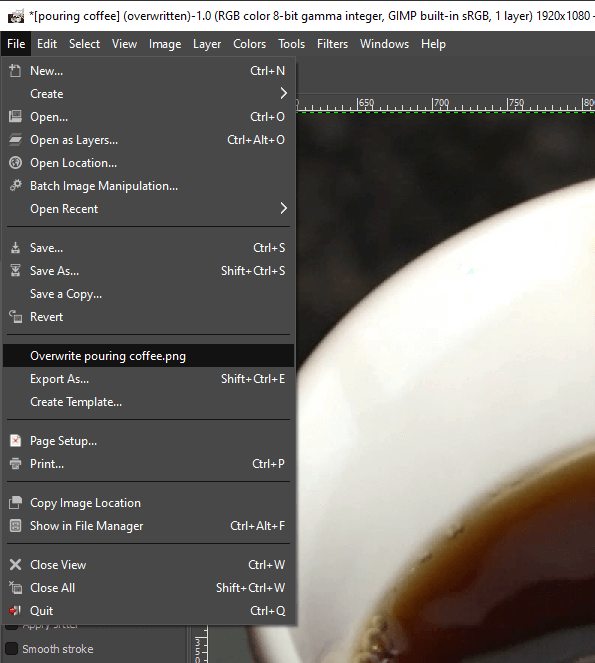
Step 18: Now, we will overwrite the existing file from the file menu.
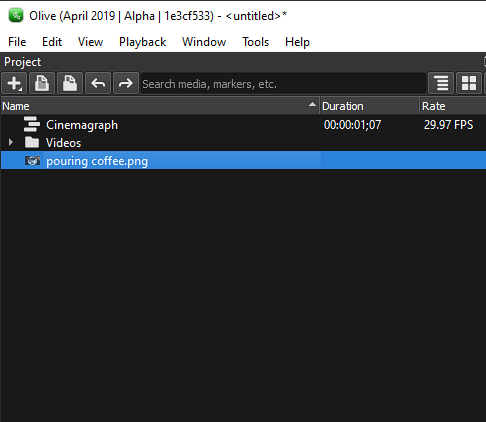
Step 19: Now import the image into the olive.
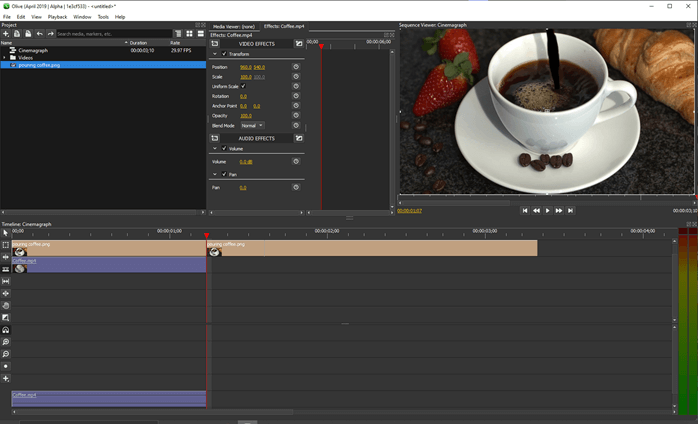
Step 20: Then drag onto the timeline above the clip.
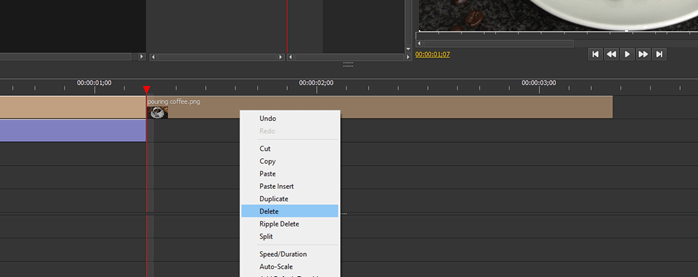
Step 21: Trim the additional part of the image timeline, which goes beyond the razor tool’s clip and erase it. Now we scrub the timeline; we can see that the parts of the image still require some work.
Step 22: Then returning in GIMP and we can deal with the layer mask
Step 23: Again, overwrite the file, which conserves a png.
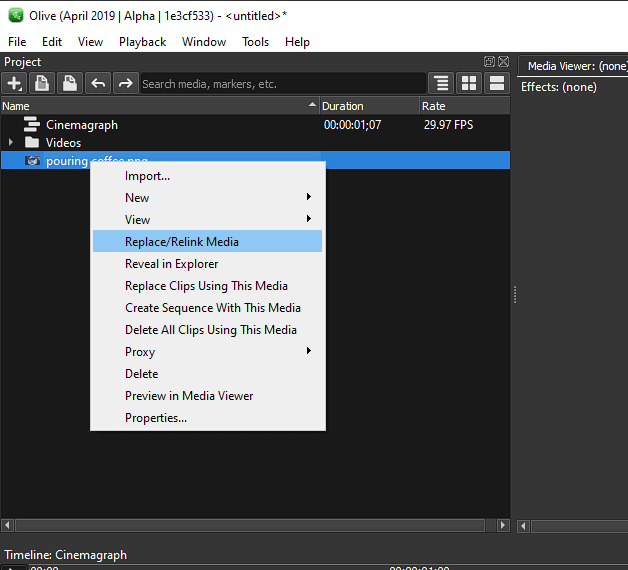
Step 24: To make certain olive shows the modifications right-click the image and replace/relink media.
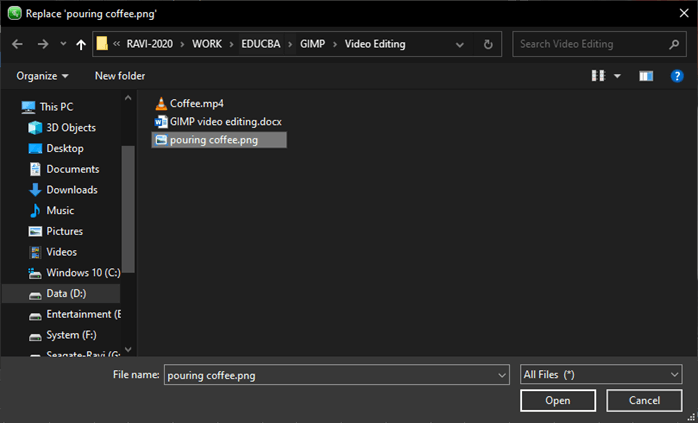
Step 25: Navigate to the image file and open it.
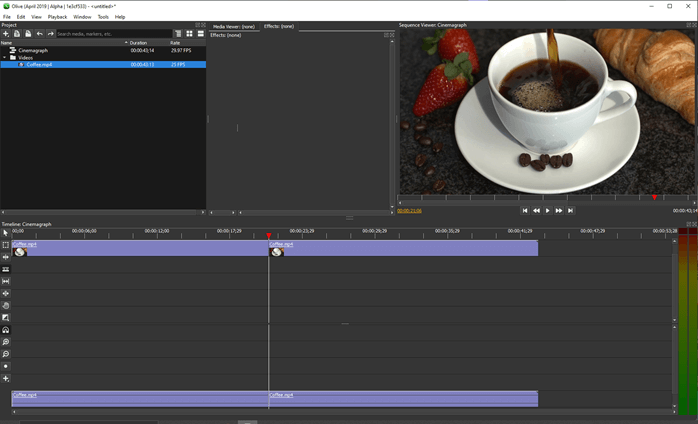
Step 26: Select the clip and press alt, and drag to replicate and likewise extend the image. We will be producing a looping impact.
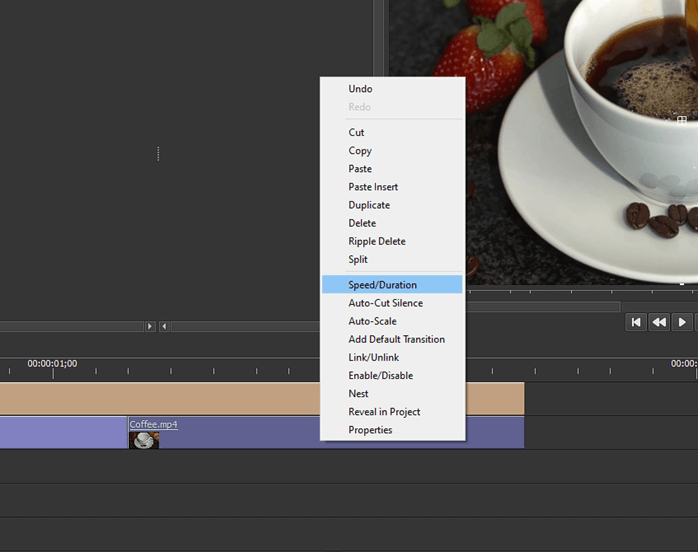
Step 27: Then we go to speed/duration
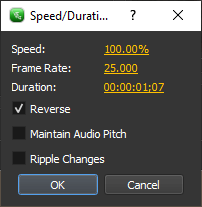
Step 28: Then reverse the instructions
Step 29: Another technique is that we replicate it on a different timeline and very first reverse the previous modifications.
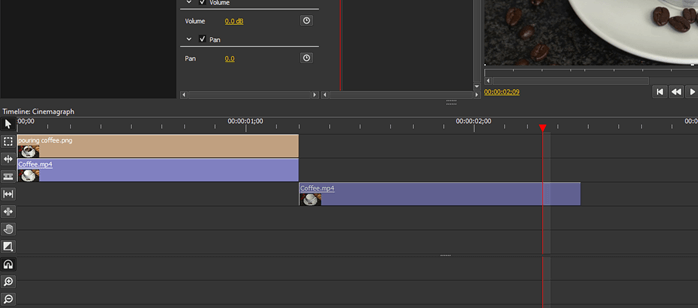
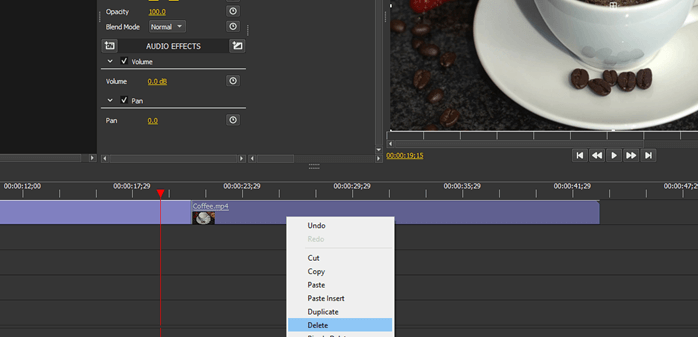
Step 30: Now, we will include a keyframe for opacity and at the start of the 2nd clip and set the opacity to 0 at the end of the very first clip.

Step 31: Again, utilizing the razor tool, cut the excess part off.
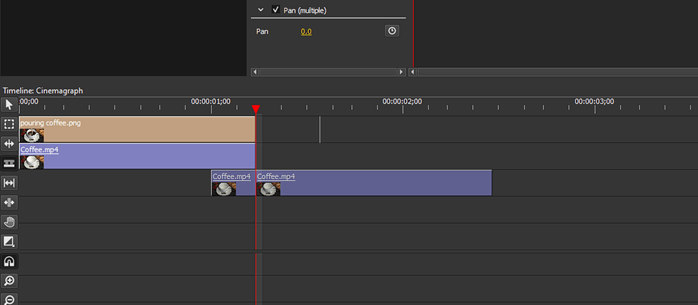
Step 32: Delete the additional part from the 2nd clip.

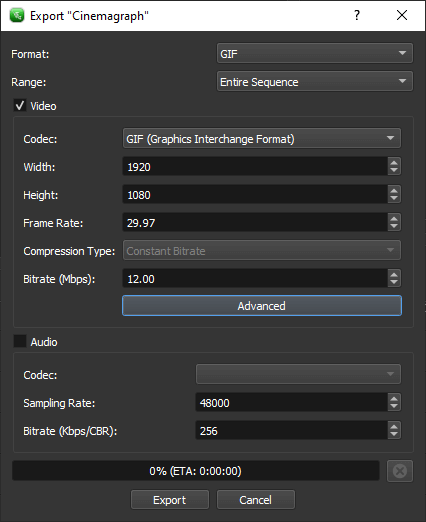
Step 33: Now export this as GIF from the file menu or press Ctrl + M and ensure the whole series is picked.
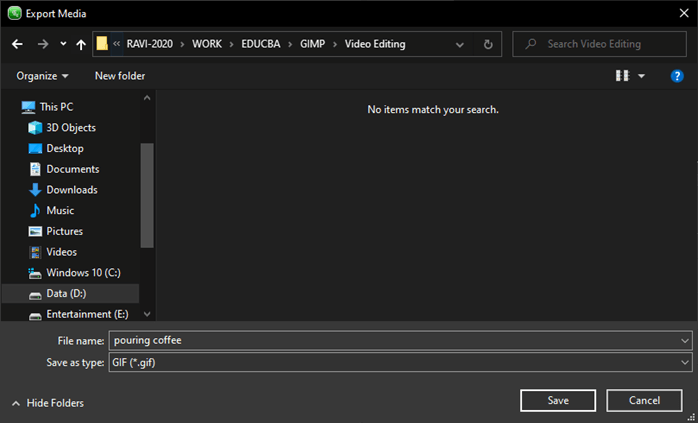
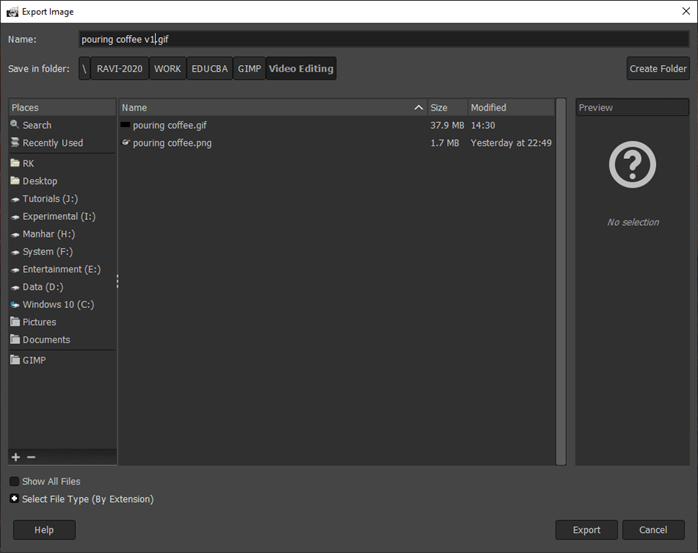
Step 34: Select the area to conserve the file as a gif.
Step 35: Our gif is produced, however there is a black frame that is appearing, which we will look after in GIMP by opening it.
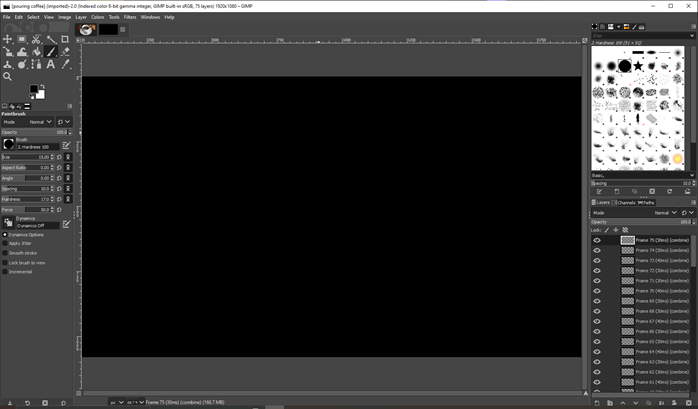
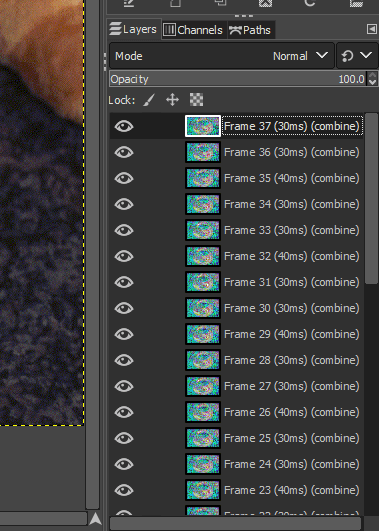
Step 36: Now erase all blank layer, black layer, and background layer.
Step 37: Then export the image as a GIF
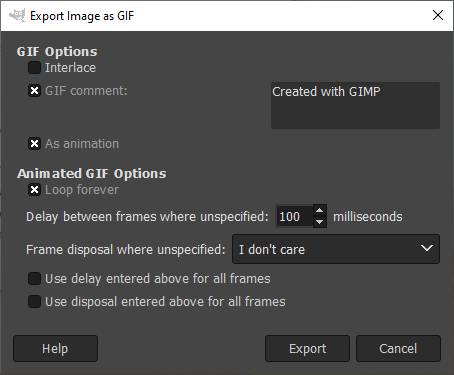
Step 38: Then, in GIF Options, make certain Loop permanently is examined and click export.
.Conclusion.
In this short article, we have actually seen how we can do video modifying with the aid of GIMP. We have actually seen how to utilize olive and do some video control and get the constant frame which we are modifying in GIMP and develop a layer mask that will permit the part of the video we desire to keep and make another part still to develop a cinemagraph.
.Suggested Articles.
This is a guide to GIMP video modifying. Here we talk about how we can do video modifying with the aid of GIMP and how to utilize olive and do some video control. You might likewise take a look at the following posts to get more information ––
GIMP Alternatives CSS Header Design Metal Effect in Illustrator Sun in Illustrator
The post GIMP video modifying appeared initially on EDUCBA .
Read more: educba.com