
When your mic isn’t established correctly, it can make your speech-to-text software application breakdown and trigger no end of sorrow on voice calls. If your mic isn’t working together, it may be since the mic level of sensitivity or sound suppression requires to be changed.
In this post, we’ll reveal you how to turn and change the mic level of sensitivity on sound suppression on your Android, iOS, Mac, or Windows gadget.
What Is Microphone Sensitivity? Why Change It?
Noise suppression strains undesirable audio. This consists of the ambient sound around you, like your pet dogs barking in the next space or the traffic outside your workplace. It likewise avoids your breath from triggering fixed or the dreadful “Darth Vadar impact.” Sound suppression tries to silence the sound of the computer system’s internal functions.
External mics can enhance the filtering much more with foam coverings, referred to as windshields. They likewise normally provide higher-quality recording than internal mics. It’s advised you utilize a top quality external mic whenever possible.
Related: The Best Mic for Podcasting
Mic level of sensitivity describes the method a microphone magnifies a soft noise into a loud one. When a mic is extremely delicate, it takes extremely soft seem like your breath or the hum of your computer system and includes them in the audio. It likewise over-amplifies louder sounds, like your voice, making them too loud for the speakers to play plainly (called “peaking”).
When a mic is not delicate enough, it stops working to detect softer noises. Unless you have an extremely faint voice or require to tape really soft noises, it’s most likely that your level of sensitivity is expensive instead of too low.
Mic level of sensitivity is figured out by lots of elements, consisting of Audio Gain, which is the conversion of noise into electronic signals that your speakers can comprehend. Pre-amplification, which assists safeguard and improve these signals, likewise plays a part.
.Change Mic Settings on Android.Image Gallery (3 Images).Expand.
Expand.
Expand.Close.
Image 1 of 3.
Image 2 of 3.
Image 3 of 3.window [‘ gallery_1’] = brand-new Swiper(‘ #swipper -1’,.pagination: el: ‘. swiper-pagination’,.,.navigation: ,. );.var images = document.getElementsByClassName(” gallery-1-images”);.for (var i = 0; i
Many microphone apps and microphone boosters are offered on the app shop. A few of them can even link to external microphones, letting you enhance your audio quality even further.
Related: How to Record Audio with a USB Microphone on Android
For an internal mic, however, we suggest Microphone Amplifier. This app changes your phone’s mic settings utilizing slider controls.
.Download Microphone Amplifier.Open Microphone Amplifier and grant Microphone and Storage consents.Dismiss the Presets menu and continue to the primary screen.Move the Audio Gain slider 2-10 indicate the right to make the mic more delicate.Move the Input Filter slider 2-10 indicate the right to enhance sound suppression.Tap the bottom-center power button to make it possible for the amplifier.Tap the bottom-right REC button to develop a test recording.Gain access to your Records from the web page. Listen and change settings up until your voice sounds clear.
Download: Microphone Amplifier (Free).
.Change Mic Settings on iPhone.Image Gallery (3 Images).Expand.
Expand.
Expand.Close.
Image 1 of 3.
Image 2 of 3.
Image 3 of 3.window [‘ gallery_2’] = brand-new Swiper(‘ #swipper -2’,.pagination: el: ‘. swiper-pagination’,.,.navigation: ,. );.var images = document.getElementsByClassName(” gallery-2-images”);.for (var i = 0; i
For sound suppression, you’ll require to discover your iPhone’s Accessibility menu.
.Go to Settings>> Accessibility> Audio/Visual>> Phone Noise Cancellation, and alter the slider to the “On” position.
AirPods microphone level of sensitivity modification is a little various as they likewise have a mic inside them.
.Go to Settings>> Bluetooth and tap the blue “i” beside AirPods on the “My Devices.”.Under Press and Hold AirPods, make certain that Noise Control is chosen.
If you set Microphone to Always Left or Always Right, the AirPods will tape audio through the picked side, even when it is eliminated from your ear. That method you can hold the mic in your hand, preventing sound from things like hair or earrings moving versus it.
Of course, if you do not have AirPods, routine EarPods likewise have an internal mic.
Related: Nifty Things Your Apple EarPods Headphones Can Do
.Change Mic Settings in Windows.Image Gallery (3 Images).Expand.
Expand.
Expand.Close.
Image 1 of 3.
Image 2 of 3.
Image 3 of 3.window [‘ gallery_3’] = brand-new Swiper(‘ #swipper -3’, );.var images = document.getElementsByClassName(” gallery-3-images”);.for (var i = 0; i
.Go to Settings>> System>> Sound. Under Input, ensure your mic is picked, then click Device Properties.Select Additional gadget residential or commercial properties.In the Levels tab, boost or reduce the Microphone ( level of sensitivity).Close the gadget residential or commercial properties window and speak. The microphone test will play your voice back to you. Boost or reduce the mic levels as required up until it plays your voice back plainly.
Adjusting the Microphone Boost makes it harder for the mic to filter out background noise, so prevent turning it up unless the Microphone volume is currently at 100 and still does not get your audio.
As constantly, you can enhance the sound quality even further by changing to an external mic. Even an inexpensive external mic is normally much better than the one that comes set up on your laptop computer. If you can’t get one, you might likewise attempt utilizing your smart device as a Windows microphone
.Change Mic Settings on Mac.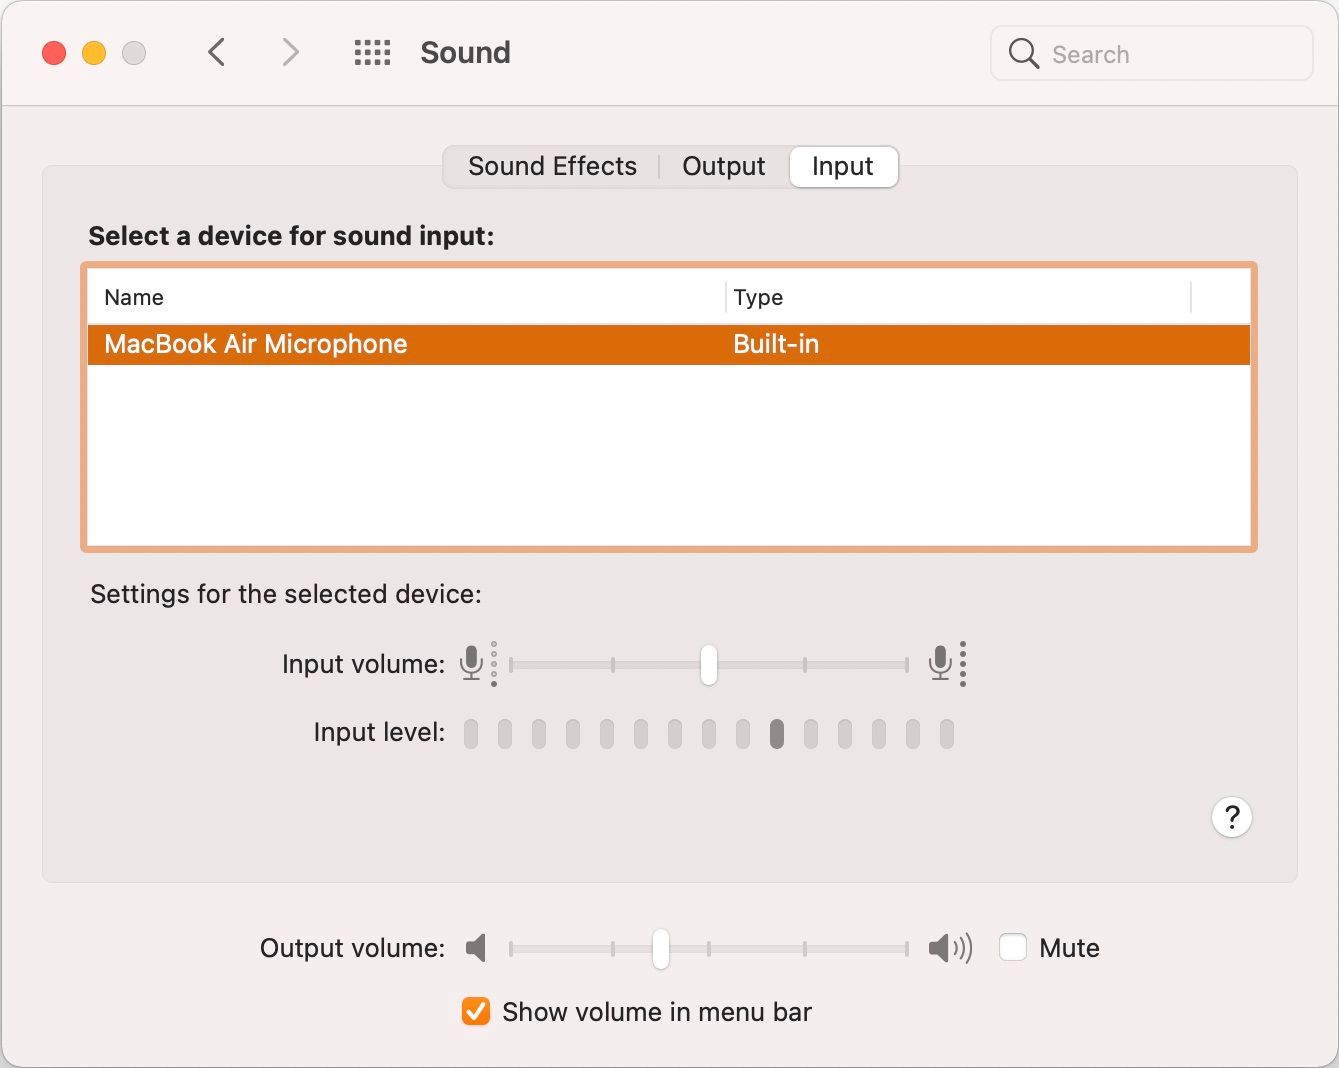
You can increase mic level of sensitivity by changing your Mac’s sound settings.
.Go to System Preferences>> Sound> Input and utilize the slider to change the microphone’s Gain (level of sensitivity).
You can likewise switch on sound suppression utilizing the Ambient Noise Reduction switch in the exact same menu. With these settings changed, you can utilize Mac’s exceptional Dictation function more quickly.
Related: How to Use Dictation on a Mac for Voice-to-Text Typing
.Take Pleasure In Clear Audio Recording.
When your mic is established correctly, you can be quickly comprehended on voice calls, your speech-to-text software application makes less mistakes, and you can delight in clear audio recordings. You will still require a premium external mic to do more complicated recordings like music or podcasts, however an appropriately changed stock mic is still adequate for a lot of functions.
Sensitivity level of sensitivity noise sound are only just 2 aspects considerNevertheless It’s likewise possible that the app you’re utilizing makes automated modifications to the microphone. In these cases, you’ll need to change the app’s settings. You might require to inspect the hardware if these changes didn’t repair your mic issue.
.
Read more: makeuseof.com