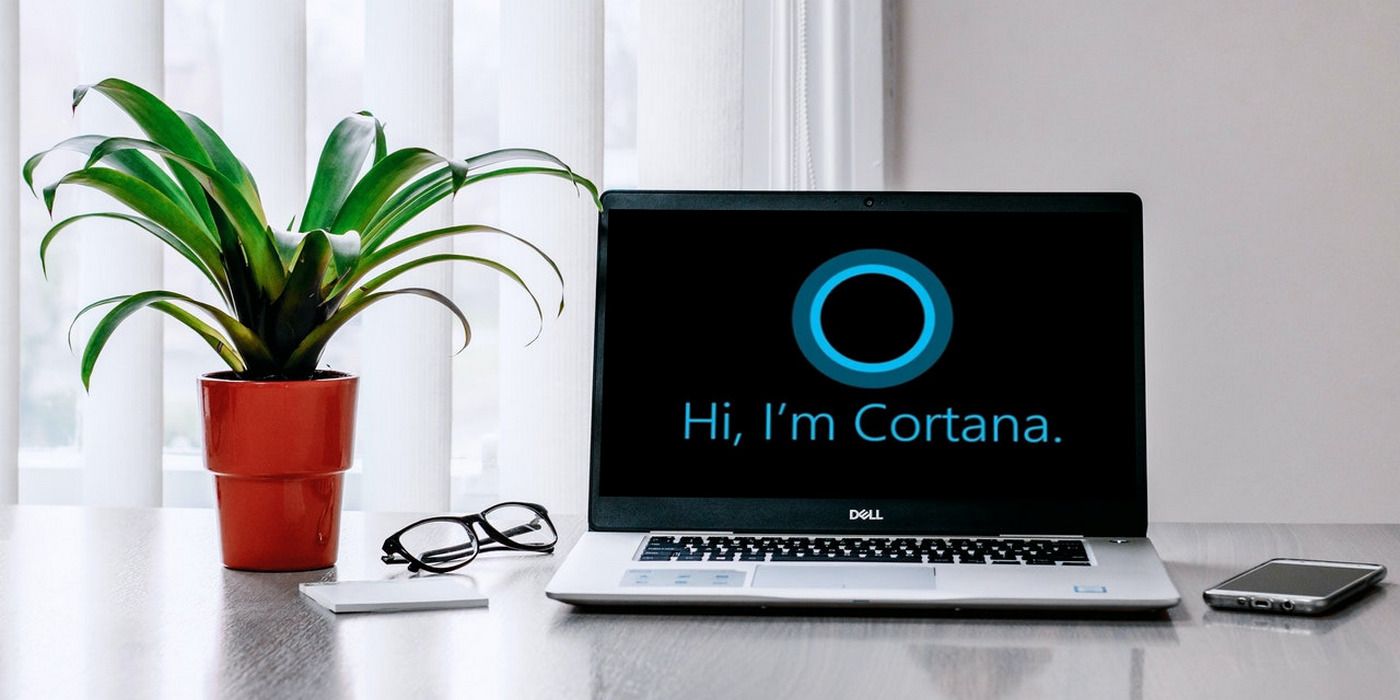
Microsoft’s Cortana remains a part of Windows 11, but unlike Windows 10, where it is an integral part of the operating system, it is deactivated by default in the latest installment of Windows. Users wanting to use the feature need to enable it on their Windows 11 PCs manually. However, for folks who don’t want to have anything to do with it, it’s an irrelevant piece of software that takes up valuable storage space and can even be a privacy concern if enabled. Thankfully, Microsoft offers the option to get rid of it altogether on Windows 10 and 11 devices.
Microsoft’s Cortana has long lost the AI voice assistant battle to Alexa, Siri and Google Assistant, becoming largely irrelevant circa 2021. In fact, many consider it to be one of Microsoft’s most significant failures alongside Windows Phone and Zune. In an apparent acknowledgment of Cortana’s failure, Microsoft shut down the app on Android and iOS earlier this year. Users can even uninstall it from their Windows computers in a few easy steps.
Related: How To Enable ‘Nearby Sharing’ For Faster Windows 11 File Transfers
To uninstall Cortana from a Windows 11 PC, users first need to open Windows PowerShell with admin privilege. To do that, press the Windows key to bring up the Start Menu. Then search for ‘PowerShell’ (without quotes) in the search bar and select ‘Open as administrator’ from the results. In the PowerShell Window, paste the following command and hit ‘Enter’: Get-AppxPackage -allusers Microsoft.549981C3F5F10 | Remove-AppxPackage. Cortana will be uninstalled in seconds.

The Cortana app is available to download on the Microsoft Store, which means Windows 11 users can reinstall it on their devices at any time. So in the future, if Microsoft’s AI assistant becomes relevant again or gets new features that users want to try out, they can just reinstall the app from the Microsoft Store. Once the app is installed manually, it should be enabled by default, but users can still disable it without getting rid of it from their PC altogether.
Enabling or disabling Cortana on a Windows 11 PC involves a few easy steps. Firstly, go over to ‘Settings,’ click on ‘Apps’ on the left sidebar and select ‘Apps & features’ on the right pane. On the next page, scroll down and locate ‘Cortana’ in the app list, then click on the three-dot menu button next to it and select ‘Advanced options’ on the popup menu. On the next screen, scroll down and turn the toggle on or off under the ‘Runs at log-in’ option to enable or disable Cortana.
Next: How To Replace Windows 11 Start Menu With Windows 7 Or 10 Versions
Read more: screenrant.com
