
When you download Adobe Premiere Pro, you also get the Adobe Media Encoder program for free. If you’re only familiar with Premiere, you may have simply cast this other program to the side when it comes to exporting your projects. However, it can be a great asset to any video editor and makes the exporting process much more efficient.
When you export your project within Premiere, you’ll notice that you’ll have to wait until the exporting process is finished before you can work in Premiere again.

Adobe Media Encoder can save you a lot of time as it works as a background video exporter, allowing you to keep using Premiere while your project gets exported.
Below, we’ll walk you through how to use Adobe Media Encoder to render your videos faster.
How To Export a Premiere Project in Adobe Media Encoder
Once you’re ready to export a project you’ve been editing in Premiere, follow these steps to use Media Encoder:
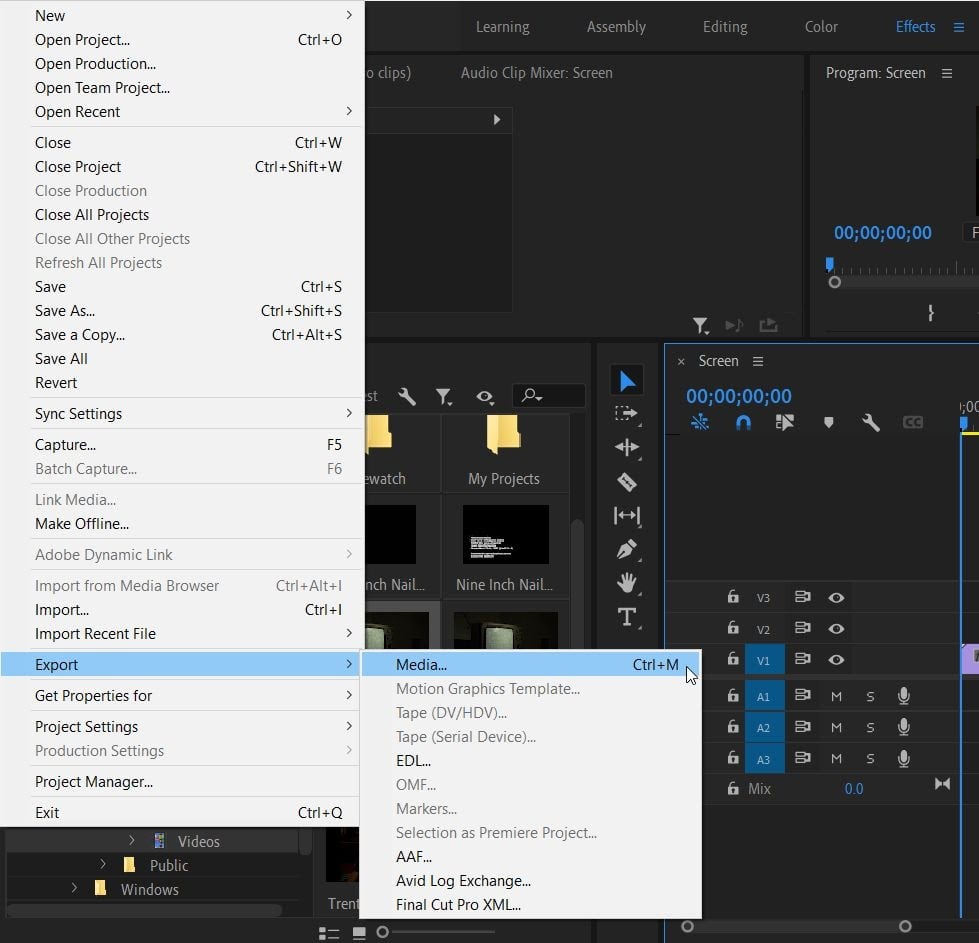
In Premiere, go to File > Export > Media.
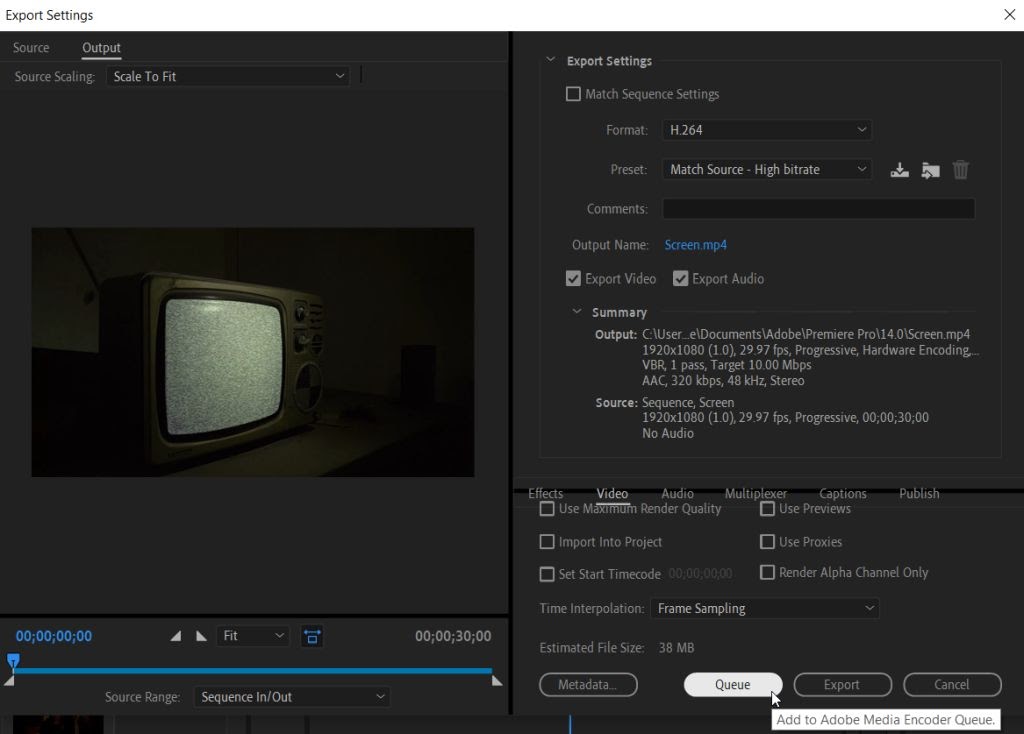
In the next window, select the optimum settings to export your project.
Instead of clicking Export at the bottom, select Queue.
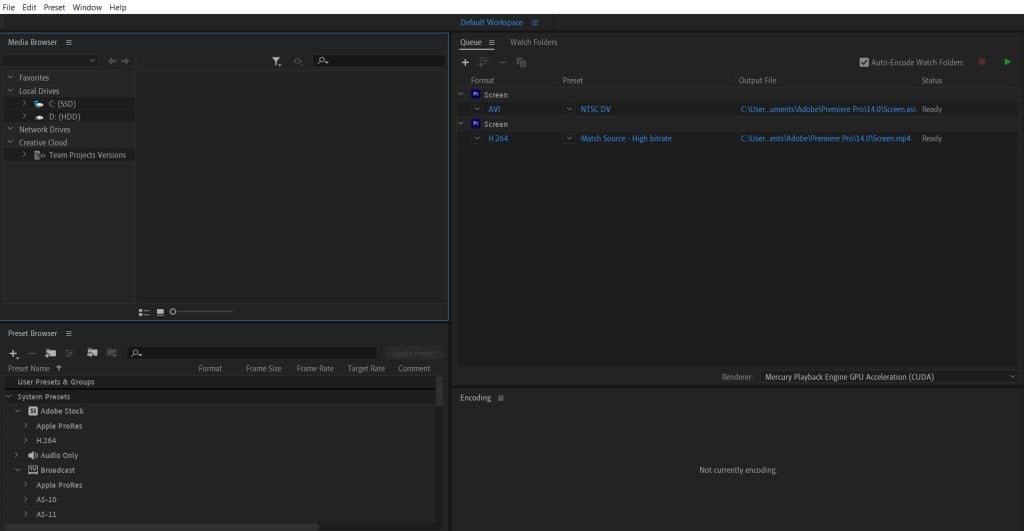
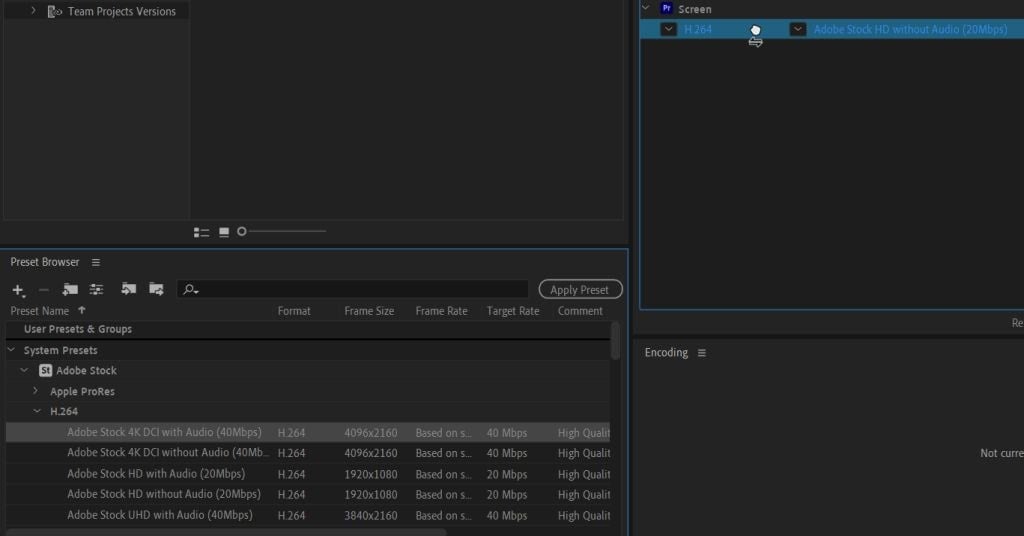
Premiere Pro will now launch Adobe Media Encoder. In the Queue panel, you’ll see the project you want to export. It will tell you the format the video is in, the preset selected, as well as the export location. Make sure the status of the project reads Ready.
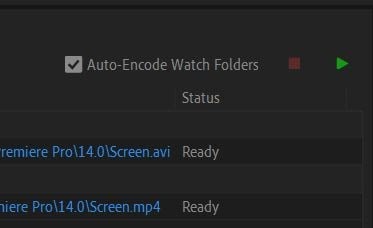
Select the green Start Queue button in the top right corner to render your project. Once finished, you’ll see a checkmark next to the project.
Another excellent benefit of exporting with Media Encoder is that you can quickly render your video in multiple settings. To do this, just follow steps 1-3 again for each different setting to export your project. Then you can hit Start Queue, and Media Encoder will export each one.
Changing Output Settings in Adobe Media Encoder
You may decide to change the presets or format for your project before rendering the video. This is effortless in Media Encoder, and there are a couple of ways to do it.
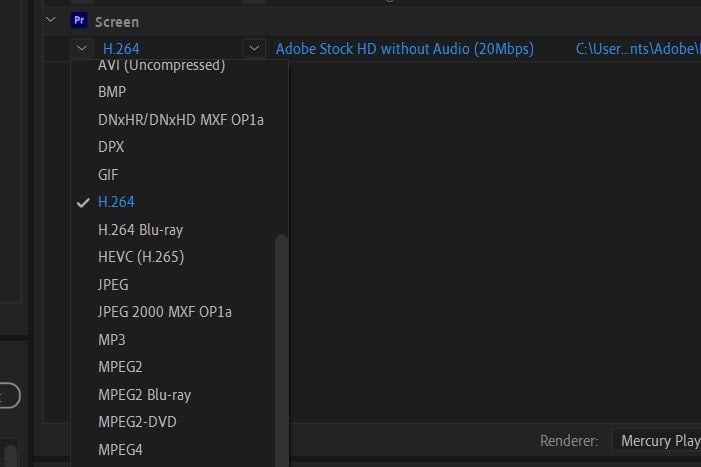
Next to the format or preset name in your project, you’ll see a small arrow. Click on this to see a dropdown of all available formats or presets. Select one of them to output your project in that setting.
In the Preset Browser panel, you can see or search for different presets. After finding the one you want to use, drag it over to your project in the Queue, and it will change the settings.
These methods are an easy way to change multiple output settings at once instead of going through them one at a time in Premiere.
Adobe Media Encoder Preferences
You can make a few changes in the Preferences settings of Adobe Media Encoder to improve your experience with Adobe Premiere Pro.
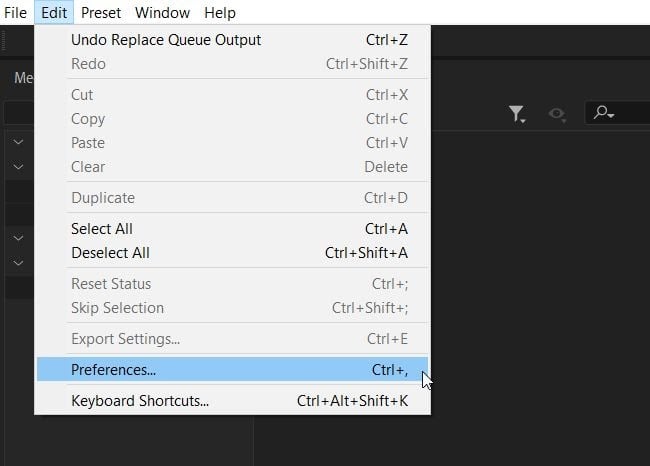
To get to these settings, go to Edit > Preferences. A new window will appear.
In the General section, you will see some options for the Queue. The vital option that can expedite the exporting process is to check off Start queue automatically when idle for: and select how long you want the program to wait until it starts the queue.
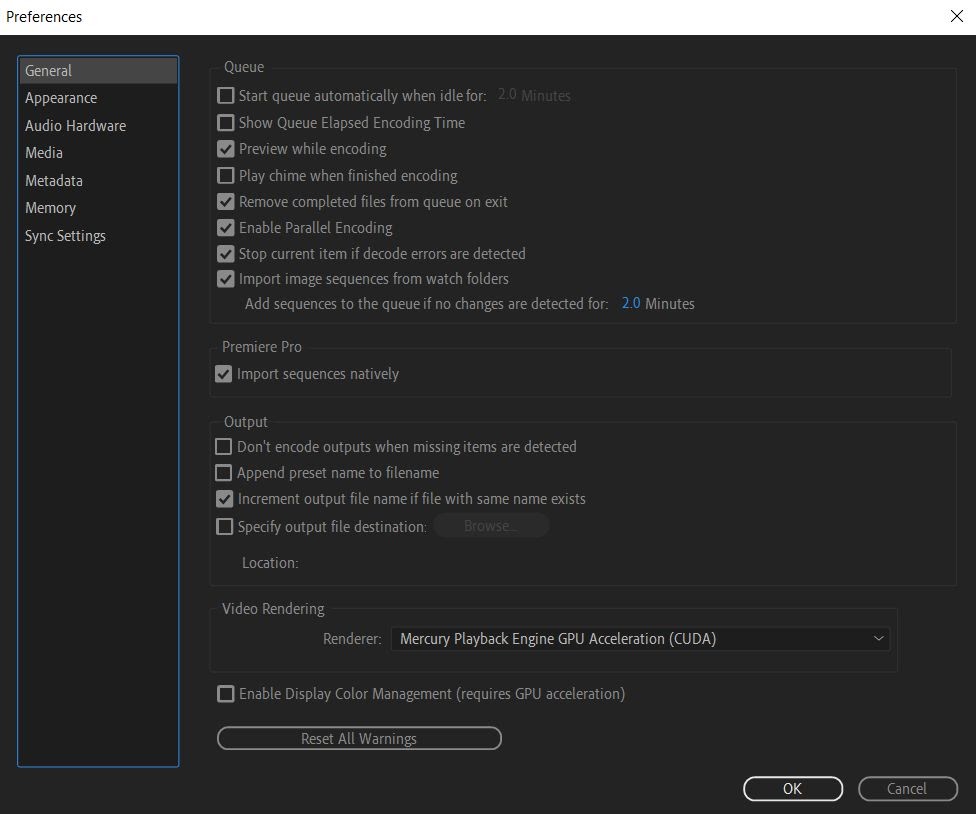
You can also choose to see how long the rendering process has taken by checking off Show Queue Elapsed Encoding Time. Seeing this can give you a good idea of how long other similar projects can take.
There’s also an option for the program to play an alert noise once it renders the video. Check off Play chime when finished encoding to enable this. It’s a good idea to have this on if you’re expecting your project to take a long time, as is often the case with longer projects or ones with lots of added effects.
Under the Output section, there are a couple of things here you may want to be aware of.
First, you have the option to have the rendering stopped if the program detects missing items. This can help prevent your final product from coming out wrong and alert you to these missing elements.
Second, you can change the output file destination here. If you ever need to export something to a specific place on your computer, this is where you’ll go to do it by checking this item off and selecting Browse.
Export Adobe Premiere Projects More Efficiently
Using Adobe Media Encoder, exporting projects from Premiere becomes a breeze. You can output multiple settings, easily change formats and presets, and more. So if you spend a lot of time exporting video projects with Premiere Pro, you should be doing them with the Adobe Media Encoder instead of directly from Premiere.
Do you run into any problems exporting Adobe Premiere videos with Media Encoder? Let us know in the comments.
Read more: online-tech-tips.com