While it doesn’t give you an impressive number of options when it comes to editing your photos or videos, Windows 10 Photos might surprise you with its features. Best of all, it requires no additional downloads or purchases, so it’s worth giving Window 10 Photos a try if you want to edit a lot of images.
Let’s take a closer look at Windows 10’s built-in photo app and all the features within it.
1. Importing Multiple Photos at Once
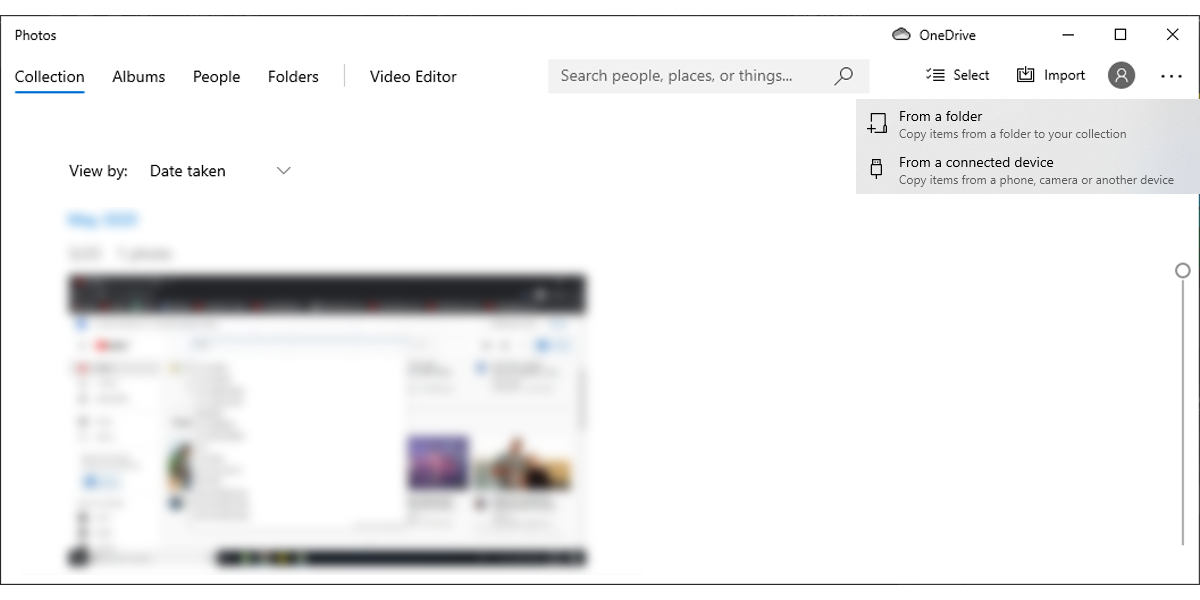
Instead of opening one photo, you can use the Photos app to import multiple images at once. Click the Import button from the top-right corner and choose the folder containing the photos you want to import. You can select all images using the Import all of … items or select individual images by clicking on them.
If you plan on editing the photos and are 100 percent sure you don’t need the original photos anymore, check Delete original items after import.
2. Tagging Images With the Windows 10 Photo App
If you need to find a photo, you can use tags. The app adds tags to photos and videos, so it’s easier to organize them. You can search for your photos using a tag describing the photo. You can also search for geotags as Windows 10 automatically adds location to your photos.
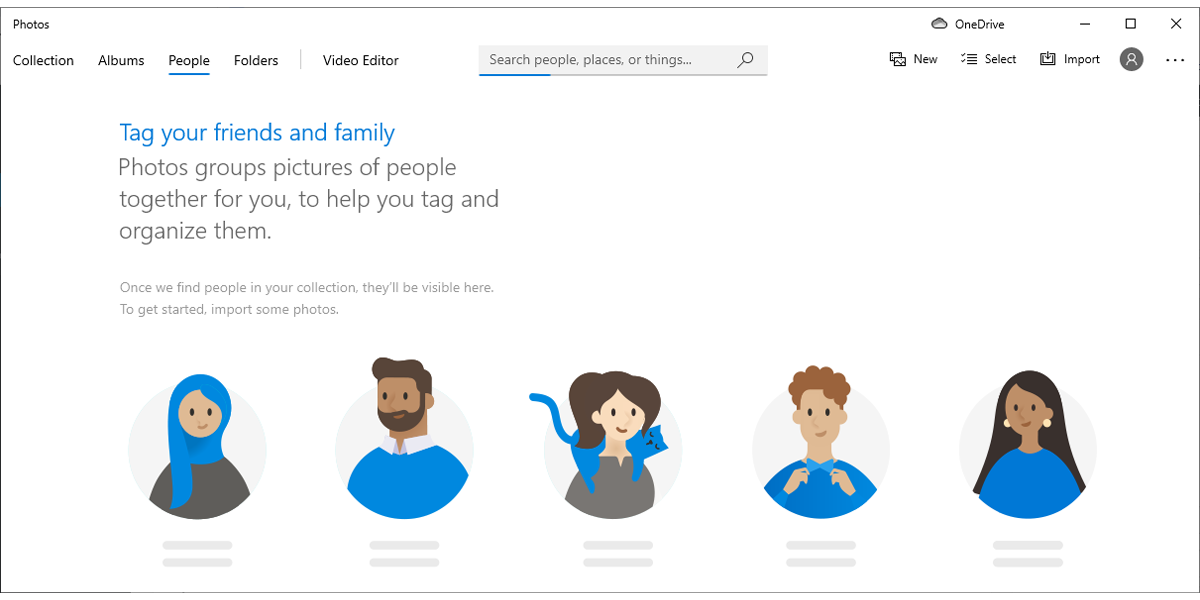
You can also tag people by their name, and you can sort the pictures just by clicking the name. All you have to do is to open the People menu and click Start tagging.
If you need other criteria to sort your photos, you can use the Add to favorites option instead.
3. Creating a Video Using Windows 10 Photos
Surprisingly, Windows 10 Photos can automatically create a video using the photos you import. This is a great feature if you just came back from a trip and want to combine all your photos or videos into one place. Follow these steps to create a video:
Click the Edit & Create button from the top-right corner.
Select Create a video with music.
Import the photos and videos you want to use.
Once you have finished editing the video, click Finish Video.
Select the video’s quality.
Click Export.
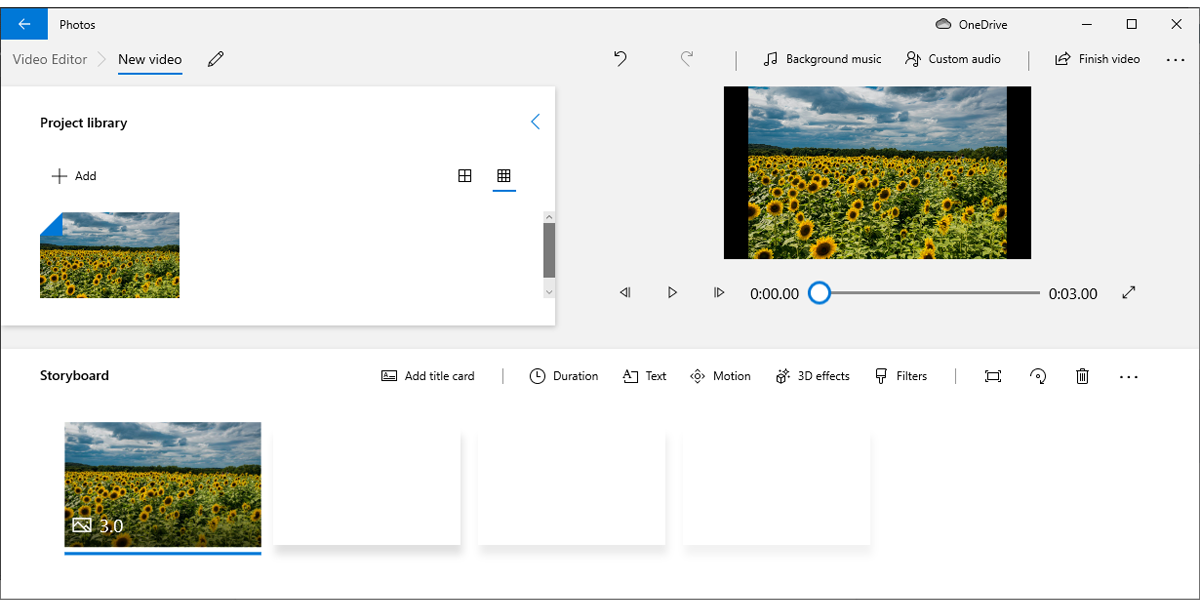
If you want to draw in the video you just created, open it using the Photos app, then click Edit & Create and select Draw. You can adjust the color and pen size, but there aren’t a lot of options available. As such, if you need more tools to edit your video, you should use another video editing app instead.
Related: The Best Video Editing Apps and Software for YouTube
4. Removing Black Bars From a Video
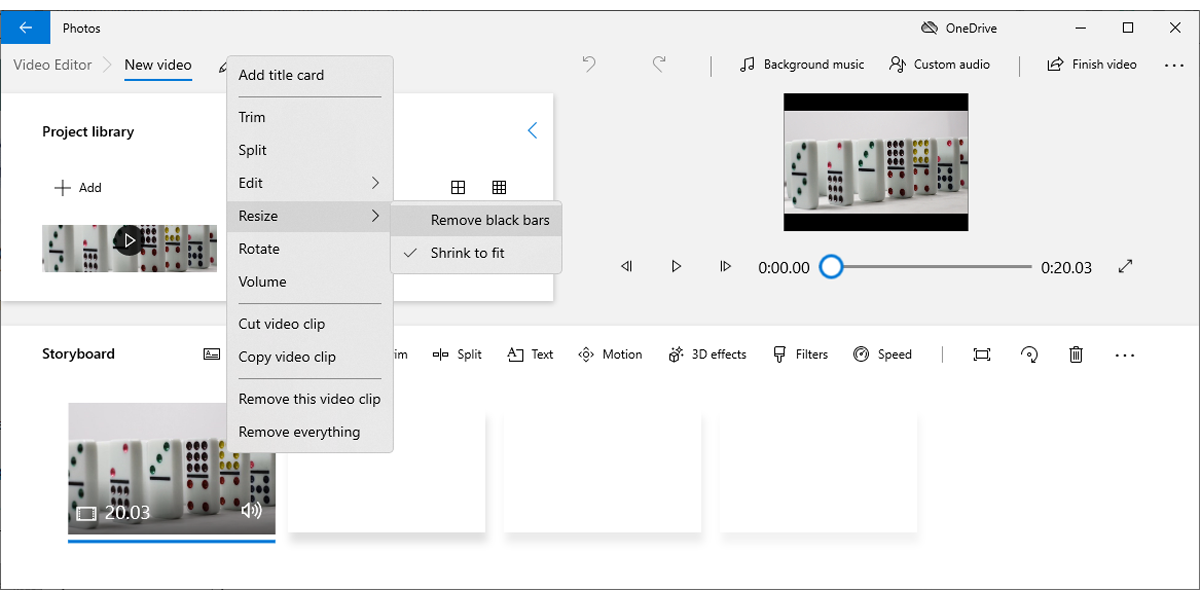
If you want to create a professional-looking video, you’ll want to get rid of those pesky black bars that like to appear. Here is how you can do it in Windows 10 Photos:
Import the video
Click Edit & Create > Create a video with text.
From Storyboard, right-click the video.
Select Resize > Remove black bars.
5. Adding Narration to a Video
If you want to go a step further when editing your videos, you can add narration to them.
Open the video using Photos.
Click Edit & Create > Create a video with text.
Select Custom Audio > Add audio file.
Select the audio file you want to use.
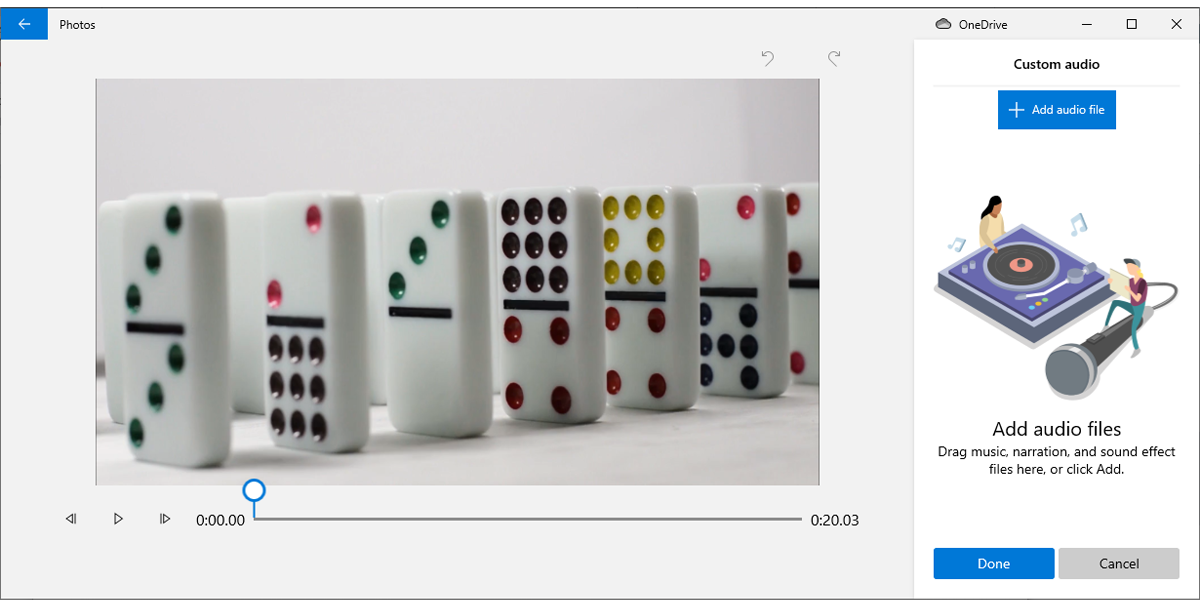
Of course, this assumes you already have a narration track that’s ready to use. You can use the built-in Windows 10 Voice Recorder app to create a voice-over if you don’t.
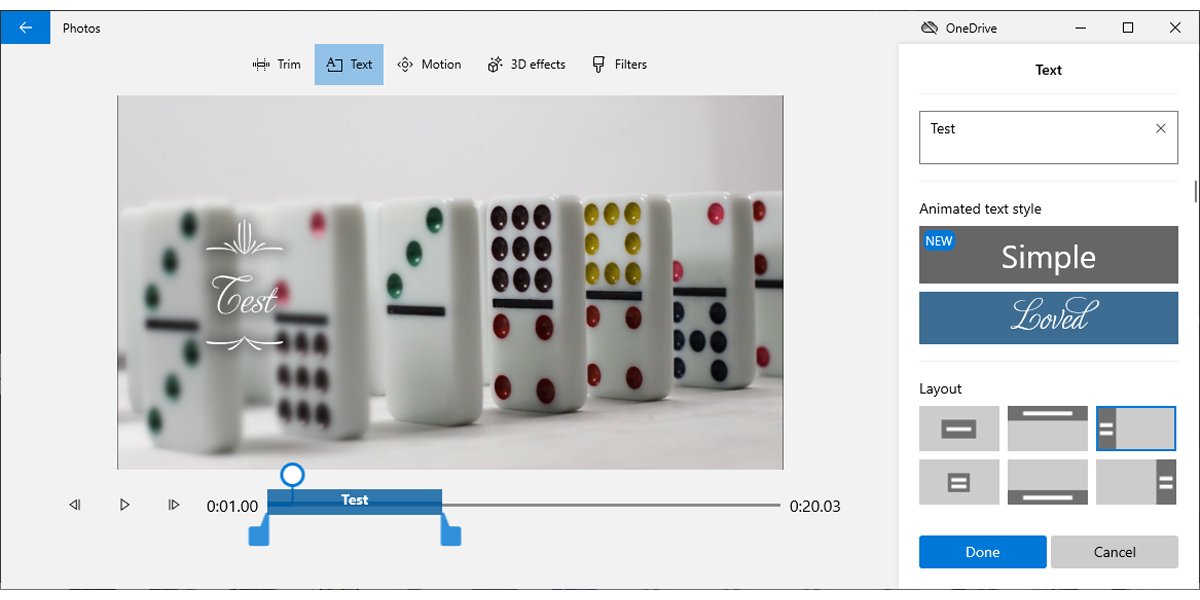
If you only want to mention the date and place in a video, you can add text instead. Here is how you can do it:
Open the video using Photos.
Click Edit & Create > Create a video with text.
Enter the text and select its style.
Select where the text is placed using Layout.
Click Done to add it to the video.
6. Share Your Pics and Videos In Windows 10 Photos
After you finish editing your photos and videos, you can share them with family and friends. All you have to do is click the Share button from the top-right corner and select how you want to share them.
Related: 8 Ways to Share Photos and Videos Privately With Your Family
More Than Just a Picture Viewer
If you are not a professional or if you don’t want some crazy edits for your photos and videos, this simple Windows 10 app might be enough for you. As we discussed, you can edit, share, and manage your pictures and videos using it.
If your photos are on their side or upside-down, you can use Photos to set them the right way up. However, other programs on Windows 10 like Paint can do the job too.
Read more: makeuseof.com

